For a Korean-style rose bouquet, build a stable flower shape first, secure the stems, arrange hydration and then add paper layers and ribbon. Watch the 33-rose demonstration in stages and practise the folds before handling the full bouquet.
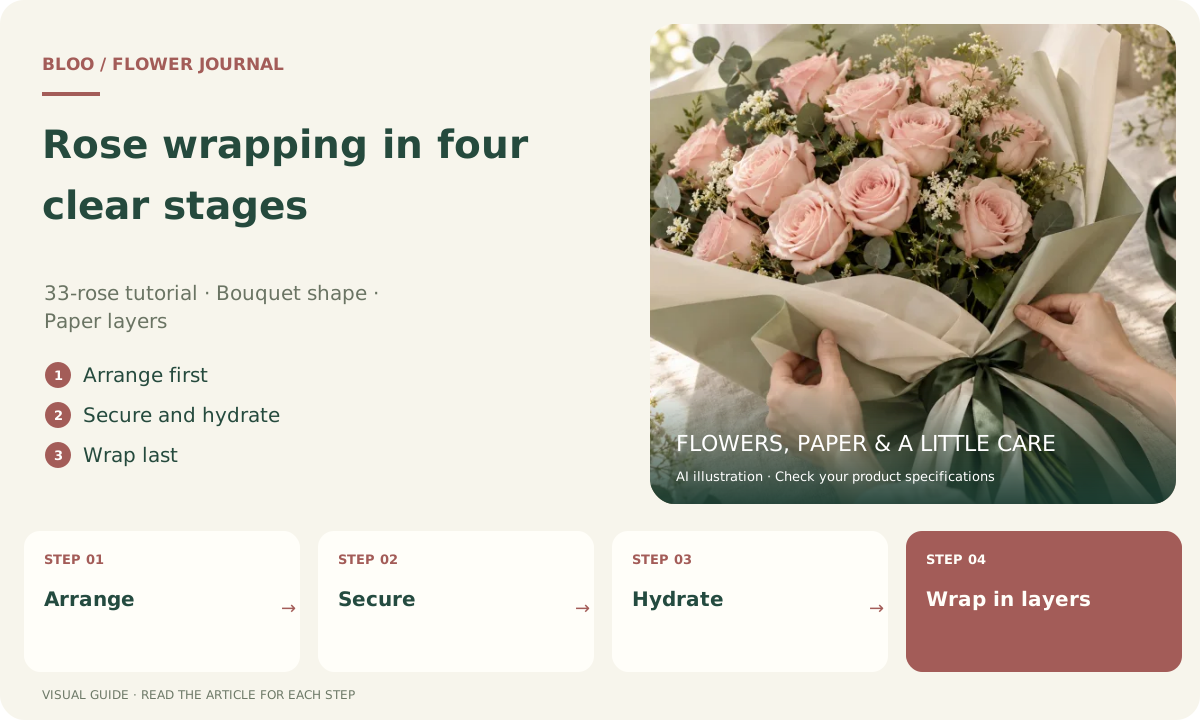
Rose wrapping in four clear stages
33-rose tutorial · Bouquet shape · Paper layers
- 01
Arrange
Review head direction and shape
- 02
Secure
Establish a stable grip
- 03
Hydrate
Identify the hydration method
- 04
Wrap in layers
Frame the flowers, then tie
Check before continuing: Practise with fewer stems if easier. Thirty-three is the tutorial quantity.
Watch the demonstration, then gather supplies
This guide accompanies the DIY 33-rose demonstration by 凯拉的翻车日常. The video covers arranging roses, adding filler, hydration and black Korean-style wrapping. BLOO provides a viewing link; the creator retains credit for the original tutorial.
The creator lists roses, baby’s breath, black wrapping paper, black mesh, ribbon, securing and hydration supplies, and LED lights. This is the video’s supply list, not the included contents of every BLOO kit.
Work through four separate stages
Pause to check your work after each stage instead of trying to keep pace with the whole video. More wrapping paper will not correct an unstable arrangement.
| Stage | What to check |
|---|---|
| Arrange | Check the flower-head heights from the front and side, and whether the bunch is comfortable to hold. |
| Secure | The stems should hold their arrangement without being crushed by the tie. |
| Hydrate | Follow the hydration product instructions and keep water away from decorative paper. |
| Wrap | Position the paper heights and directions before securing the layers and tying the ribbon. |
What if the wrap looks uneven?
Set the bouquet down securely and look at the exposed paper rather than pulling the flower heads. Repositioning the last layer is usually easier than tugging at the innermost sheets. Tie the decorative ribbon after securing the paper.
You do not have to start with 33 stems. If the bunch is hard to hold, practise with fewer flowers and add more after you understand the tying method. The result does not need to match the demonstration’s size; work with your supplies and a comfortable grip.
Decide what you want to learn from the video
Use the 33-rose demonstration to understand how the bouquet and paper layers take shape. Watch once to identify arranging, fastening, hydration, wrapping and ribbon stages. On a second viewing, pause to follow each stage without rushing.
Check tutorial supplies separately from your own kit contents. You can practise the basic arrangement and paper silhouette before adding decorative mesh or lights. A BLOO shell kit follows its supplied assembly method rather than the hand-tied structure in the video.
Arrange by the flower heads, not only the stems
Rose heads vary in size, openness and direction. Look at the flowers first and decide which suit the centre or outer edge. Avoid cutting all stems to a uniform length before understanding the shape and support method.
Practise with fewer stems if that is easier to hold. Build a small centre, add gradually and review the front and side as you go. Stop to regain control if the bundle slips. Thirty-three stems are the demonstration quantity, not a learning requirement.
Use the paper to frame the flowers
Hold the paper beside the bouquet to check its height and side edges before folding. Start with one clear framing layer, then add another only if it helps the shape. Complex corners are less useful than a stable frame that keeps the flowers visible.
If a fold looks wrong, loosen the local fastening point rather than pulling the opposite side tighter. Smooth the area before tying again. Save the supplied spare materials for a genuine second attempt instead of replacing everything immediately.
Check the front, side and grip before finishing
Review the front for balance, the side for pressure on flower heads and the grip for stability. A pose that looks good briefly for a photograph may not be suitable for transport; use appropriate support and the relevant hydration instructions.
Note which stage caused difficulty and focus the next practice session on that skill. Before gifting, tidy loose tape, leaf trimmings and string ends. A careful, stable result is more important than matching every corner of the original video.
A small check before you finish
Practise the paper silhouette twice with scrap paper, without dismantling a finished bouquet. Note the video position for a difficult fold or tie. Working on one specific action makes progress easier to recognise.
Try the original tutorial
You might also wonder
Can I follow this exactly with a BLOO bouquet shell?
A shell and a hand-tied bouquet use different structures. Follow the kit card for the shell, and use the video for colour, shape and ribbon inspiration.
Can I use a different wrapping paper?
You can use suitable bouquet paper, but different thicknesses and sheet sizes may need different folds or fewer layers. Practise with your own paper first.
Sources and further reading
Product specifications, fees and availability follow the details confirmed when ordering. Spotted something that needs correcting? Contact BLOO