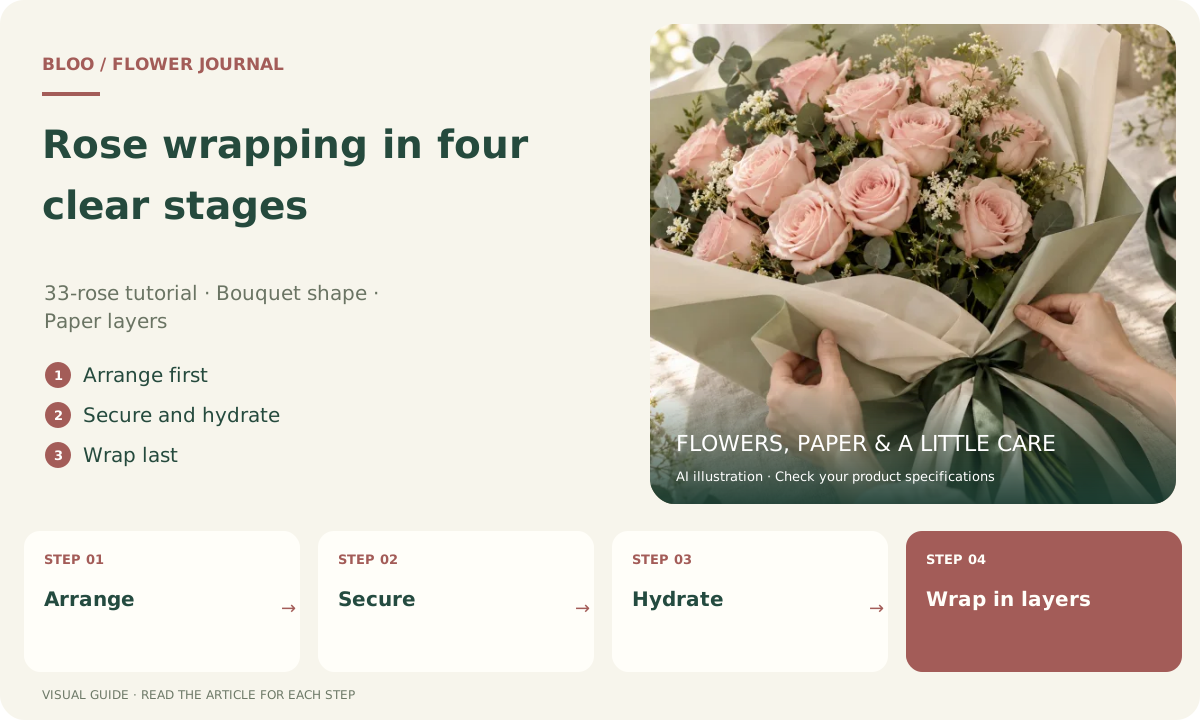
BLOO bouquet kits include the selected flowers, a foam-fitted bouquet shell, twine and ribbon, and a step card. Match the box to your order before starting. Papers, mesh, LED lights and tools in a tutorial are not automatically included.
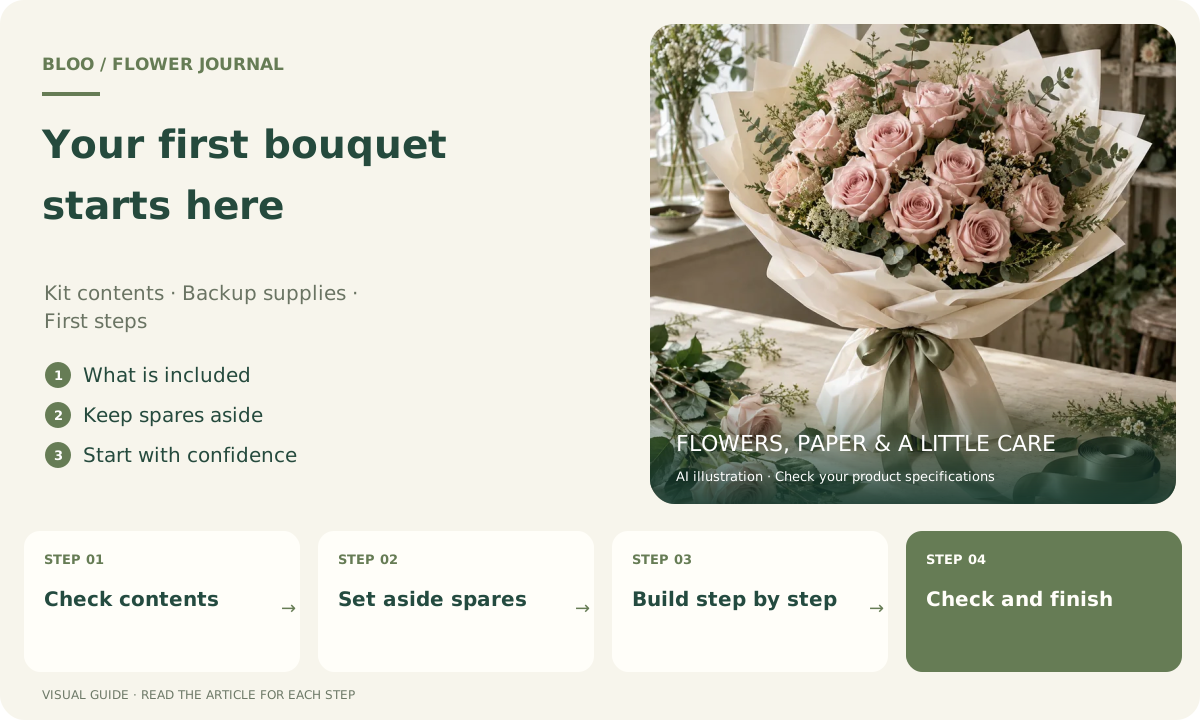
Your first bouquet starts here
Kit contents · Backup supplies · First steps
- 01
Check contents
Match the order and packing list
- 02
Set aside spares
Separate working materials and backups
- 03
Build step by step
Start with support, then arrange
- 04
Check and finish
Review flowers, stability and ties
Check before continuing: Tutorial props are not the kit list. Follow your supplied instructions.
Check these four things first
Lay out flowers and accessories separately, with your order and step card beside them. A different colour palette from the video does not mean something is missing: the box follows your selected product, not the creator’s props.
| In the box | How to use it |
|---|---|
| Selected flowers | Check varieties and quantities against the order; keep flowers hydrated before arranging. |
| Shell and floral foam | This supports the kit arrangement; follow the supplied assembly instructions. |
| Twine and ribbon | Allow enough length for tying; trim excess only once the arrangement is secure. |
| Step card | Use this as the primary guide for your particular kit. |
Set aside the backup supplies
Keep the backup supplies provided in your pack aside for practice or a second attempt. Check the packing list: spare items and quantities may differ between kits. Do not assume every pack includes extra stems or the props shown in a video.
A bouquet shell or a traditional hand-tied wrap?
A shell kit starts with a support into which you place stems. A hand-tied bouquet starts with an arrangement held in your hand, secured around the stems and then dressed with paper and ribbon. Both make a bouquet, but their supplies and sequence differ.
The free tutorials help you learn shape, folds and tying. If you want the Korean black-paper look from a video, list any additional supplies first. Do not force a foam shell to work like the hand-tied structure in the demonstration.
Leave room to adjust
Watch the complete demonstration first so you know which steps need both hands. Place tying materials within reach. Prepare a clear table, a water container, and suitable stem-cutting tools.
Keep stems long until you are happy with the shape, then trim gradually. Practise folds with your own scrap paper first. If anything differs from the order, photograph the opened box and contact BLOO before continuing.
Set up three areas on your workbench
Clear a stable table of food, drinks and items that should stay dry. Keep the working area near you, flowers to one side, and packaging and spares in a dry corner. The aim is to avoid knocking flowers over while searching for ribbon or leaving the step card under wet paper.
Compare the order and packing list with the contents, keeping small accessories clear of discarded packaging. Retain any item whose purpose is unclear. A clear photograph of the unpacked contents makes a later question easier to resolve.
Use the backup supplies deliberately
Set aside listed spares for a second attempt rather than using everything to make the first layer thicker. Finish a basic version before deciding what needs reinforcement. Spare types and quantities follow the packing list; video flowers, mesh and lights are not automatically included.
Practise folds with scrap paper and knots with spare string of your own before using the kit materials. Keep unused pieces dry and separate from leaf trimmings. Understanding support, fastening and finishing matters more than copying the video exactly.
Build the overall shape before the details
Read the whole step card before cutting or arranging. Shell kits and hand-tied bouquets use different supports, so do not copy the video by cutting every stem to the same length. Plan positions, keep room for adjustment and follow the instructions for your kit.
After placing the focal flowers, step back and review the silhouette before adding supporting flowers and foliage. Adjust spacing before cutting more. Check that flower heads remain visible, the shell is stable and ties are positioned appropriately.
Identify the problem before changing everything
Uneven appearance does not necessarily mean missing materials. Check flower direction, height and wrapping layers, then change one thing at a time. If the contents differ from the packing list, stop and check instead of using spares to conceal a missing essential.
When asking for help, include the order reference, clear unpacking photos and the step you reached, without payment details. Keep a photo of your first result and a note of the most difficult stage so you can practise it next time.
A small check before you finish
Before opening the working materials, name your next three actions and locate what each requires. Pause if an item or instruction is unclear. Afterwards, store unused spares dry with the packing list so you know what remains.
You might also wonder
Does every kit contain the 33 roses shown in the video?
No. Your selected product and order determine the quantity. Thirty-three roses is the size used in that demonstration.
Are scissors, LED lights and black mesh included?
Do not assume these are supplied because they appear in a video. Check the product contents or ask BLOO before gathering extra supplies.
Sources and further reading
Product specifications, fees and availability follow the details confirmed when ordering. Spotted something that needs correcting? Contact BLOO